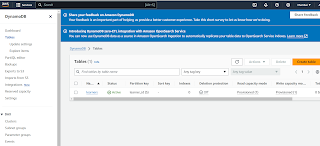
AWS DynamoDB data insertion using lambda function Sign in to the AWS Management Console: Go to the AWS Management Console and sign in using your credentials. Open the DynamoDB Console: Navigate to the DynamoDB service. Create a New Table: Click on "Create table." Provide a table name. This must be unique within your AWS account and adhere to DynamoDB naming conventions. Define the primary key: Partition Key: This is the primary key attribute. It uniquely identifies each item in the table. Optionally, you can define a Sort Key (also called a range key) to further organize the items with the same partition key. Specify the table's settings: Provisioned or On-Demand Capacity: Decide whether to use provisioned capacity (you define the read and write capacity units) or on-demand capacity (automatically scaled by AWS). Accessing the Table: After creating the table, you'll be redirected to the table details page. Here, you can see the table's properties, metrics, and ...
